
Would we be Coop if we didn’t carve a pumpkin into something sleep-related? There’s plenty of intricate pumpkin carving tutorials out there, but we’re keeping it simple with this sleepy little fellow that’s perfect for beginners!
Here’s what you’ll need
- 1-2 candles
- Lighter/matches
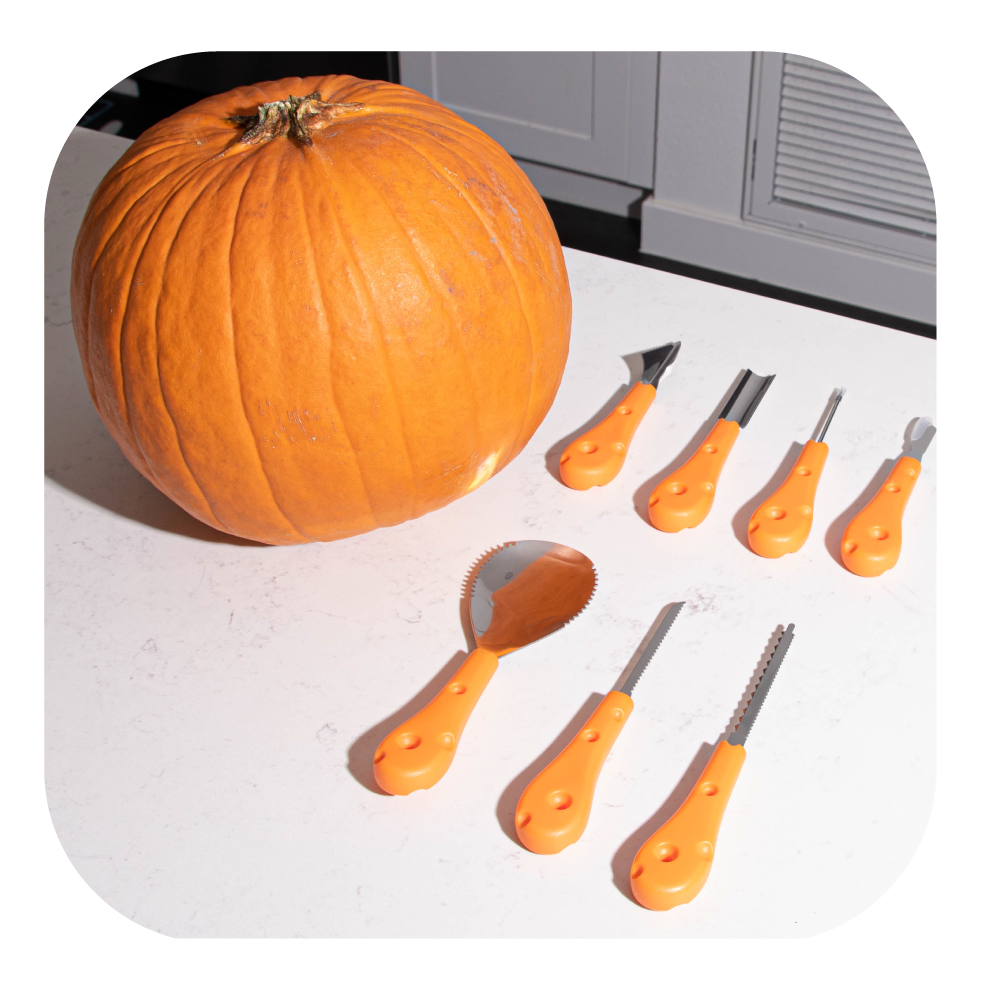
- Carving tools
- Pumpkin
- Pen
Here’s what to do
- Wash your pumpkin and dry it with paper towels.
- With your pen, sketch out a sleepy expression on your pumpkin. Don’t forget the ZZZs!
- Measure a circle about 2 inches radius from the stem. Cut around the circle to make a lid, making sure to angle the knife in toward the center of the circle. This will help prevent it from falling into the pumpkin.
- Use your scooping tool to remove the seeds and strings hanging inside the pumpkin. Scrape the sides of the pumpkin as smooth as you can.
- Start carving your pumpkin by using a back and forth motion to cut into the pumpkin. Make sure you do it carefully and take your time with the pumpkin. Follow the design that you drew on the pumpkin.
- Use a candlestick or tea lights and put it inside the pumpkin. Just make sure to keep an eye on the candle while it’s lit, and don’t forget to blow it out before the night ends! Optional: add a pillow for that full nap-time aesthetic.


